An amazing no knead bread recipe for you to make your own homemade bread with literally no effort! This recipe requires no special equipment, mixer or technique. You will only need a wooden spoon and your love!
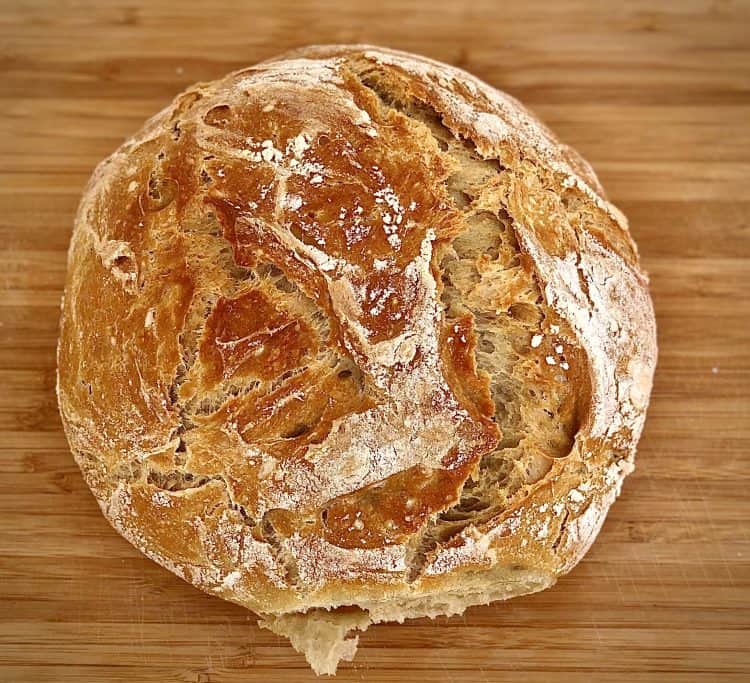
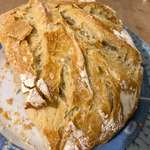
So picture this! A golden crusty loaf of hot bread, torn in chunks, crackling and steaming as you can barely resist the smell of freshly baked bread permeating the air. Pure bliss!
So go ahead, read on to discover how to make my no knead bread recipe to perfection with my tips and tricks, troubleshooting guide, variations, how to store and of course my fool proof recipe!
What is No Knead Bread?
Making bread can look like a lot of work. Mostly due to all of that kneading! So, if you want tasty bread without all the work, then a no knead recipe is the answer!
When preparing bread the traditional way you knead the dough to “develop” the gluten in it. When you knead your bread, you are stretching the bundled up molecules of gluten into long strands. These strands are what gives bread its strength and allows it to proof, hold the CO2 produced by the yeast and its shape when baking!
So how does a no knead bread work? Instead of relying on manual labour to do the unfolding of the gluten, you instead rely on the natural enzymes present in the flour to do it for you. By leaving the dough to proof for a long period of time, you are giving these enzymes time to break down the gluten “balls” into smaller “chunks”.
Then your yeast takes over and does the rest of the kneading work. How? When your yeast activates, it produces CO2, which inflates the dough. That inflating caused by the yeast is enough to align the “cut up” gluten chunks into deliciously stretchy gluten strands, giving you the perfectly kneaded bread, without any of the effort!
Key Preparation Tips
To make your no knead bread to perfection there are a few things to watch out for.
Getting the right yeast – dry yeast works the best
Using the right flour – a high protein, bread flour
Scoring and shaping it tightly
Harnessing the power of steam and baking it in a Dutch oven
Getting the right yeast
For this no knead bread recipe I prefer to use active dry yeast instead of instant yeast. Yes, both of them will leaven your bread and give that light and airy texture we all love. They also taste very similar! However, I find that active dry yeast is more fool proof to use. Why?
Active dry yeast it gives you a chance to check if your yeast is working well! With active dry yeast, you need to dissolve it in water with a pinch of sugar before you use it in the dough.
That is because dry active yeast has larger “granules” than instant yeast and will not dissolve on its own in the bread dough.
After you’ve dissolved your yeast in the water – sugar mix, set it aside for 10 minutes. It should start frothing up. If it doesn’t you know your yeast is not working and you’ve just saved yourself a flat no knead bread and a big disappointment!
If you don’t have any active dry yeast, you can substitute it with instant yeast, using the same measurements. Just don’t dissolve it in water and add it straight to the no knead bread flour mix.
How to shape and score my no knead bread?
Shaping and scoring your no knead bread the right way is super important in order to get a delicious oven spring! You need to build tension in the dough which, when baked, will cause your bread to rise and expand upwards, making it soft and airy on the inside!
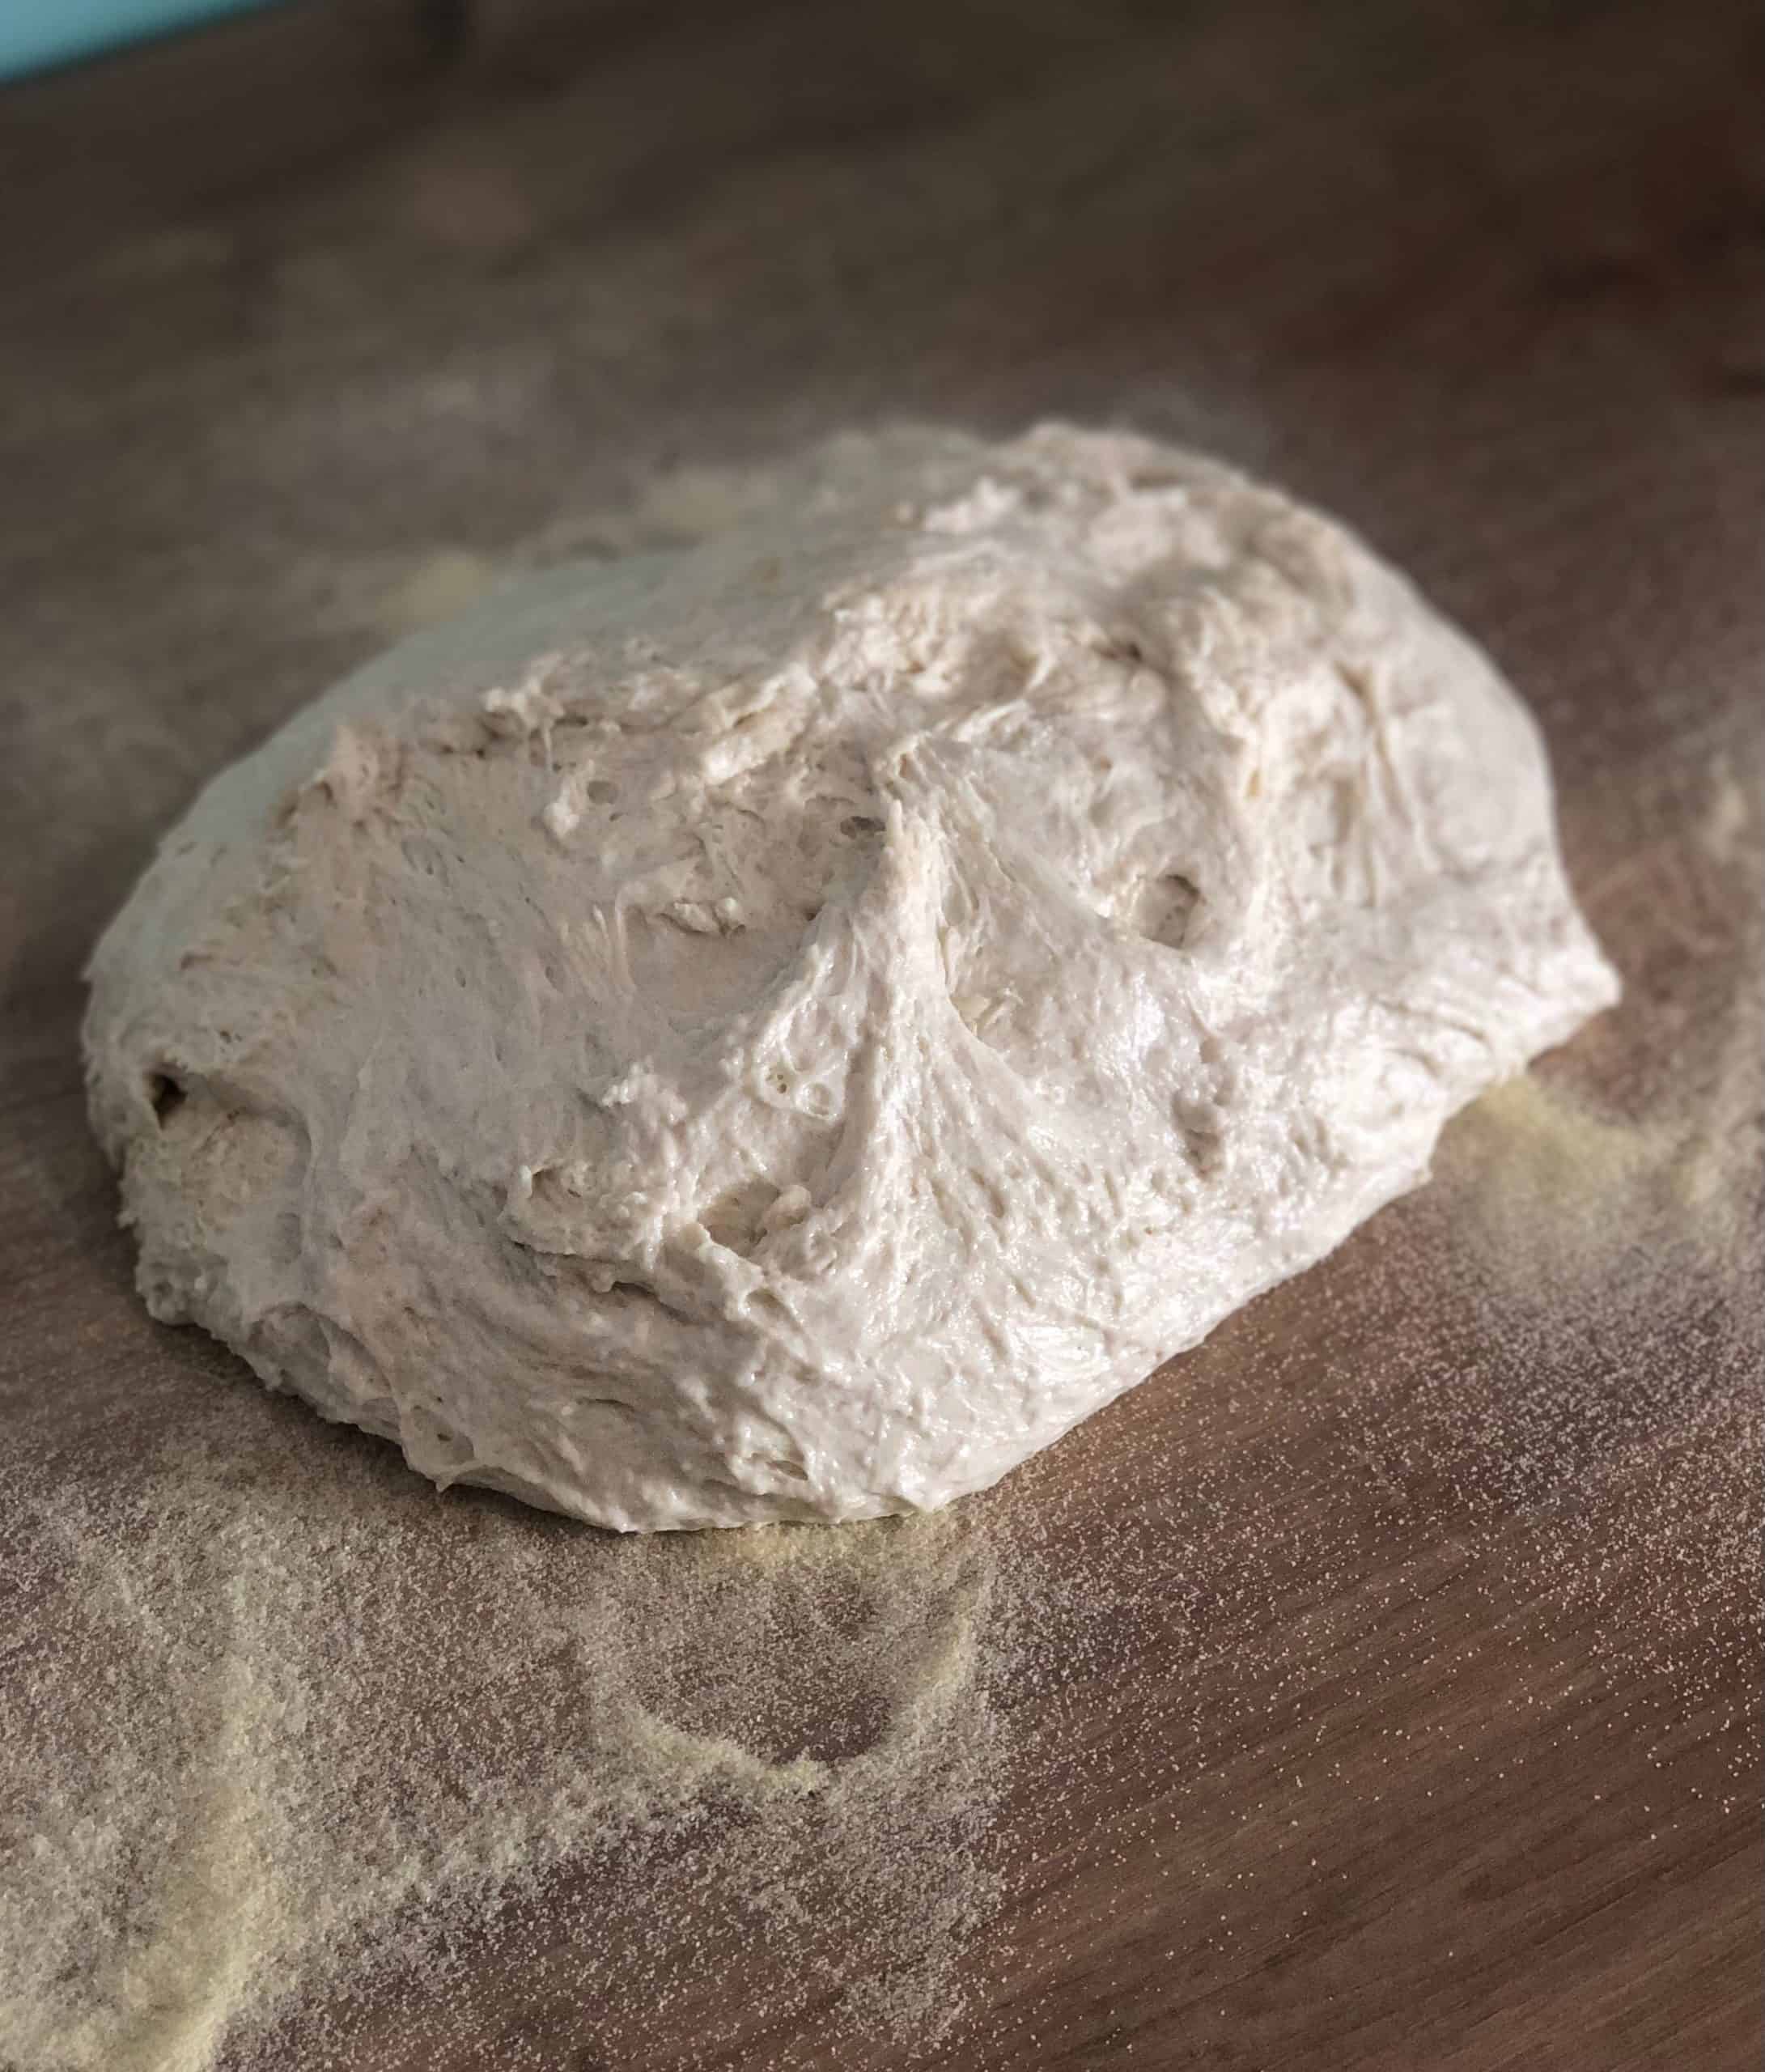
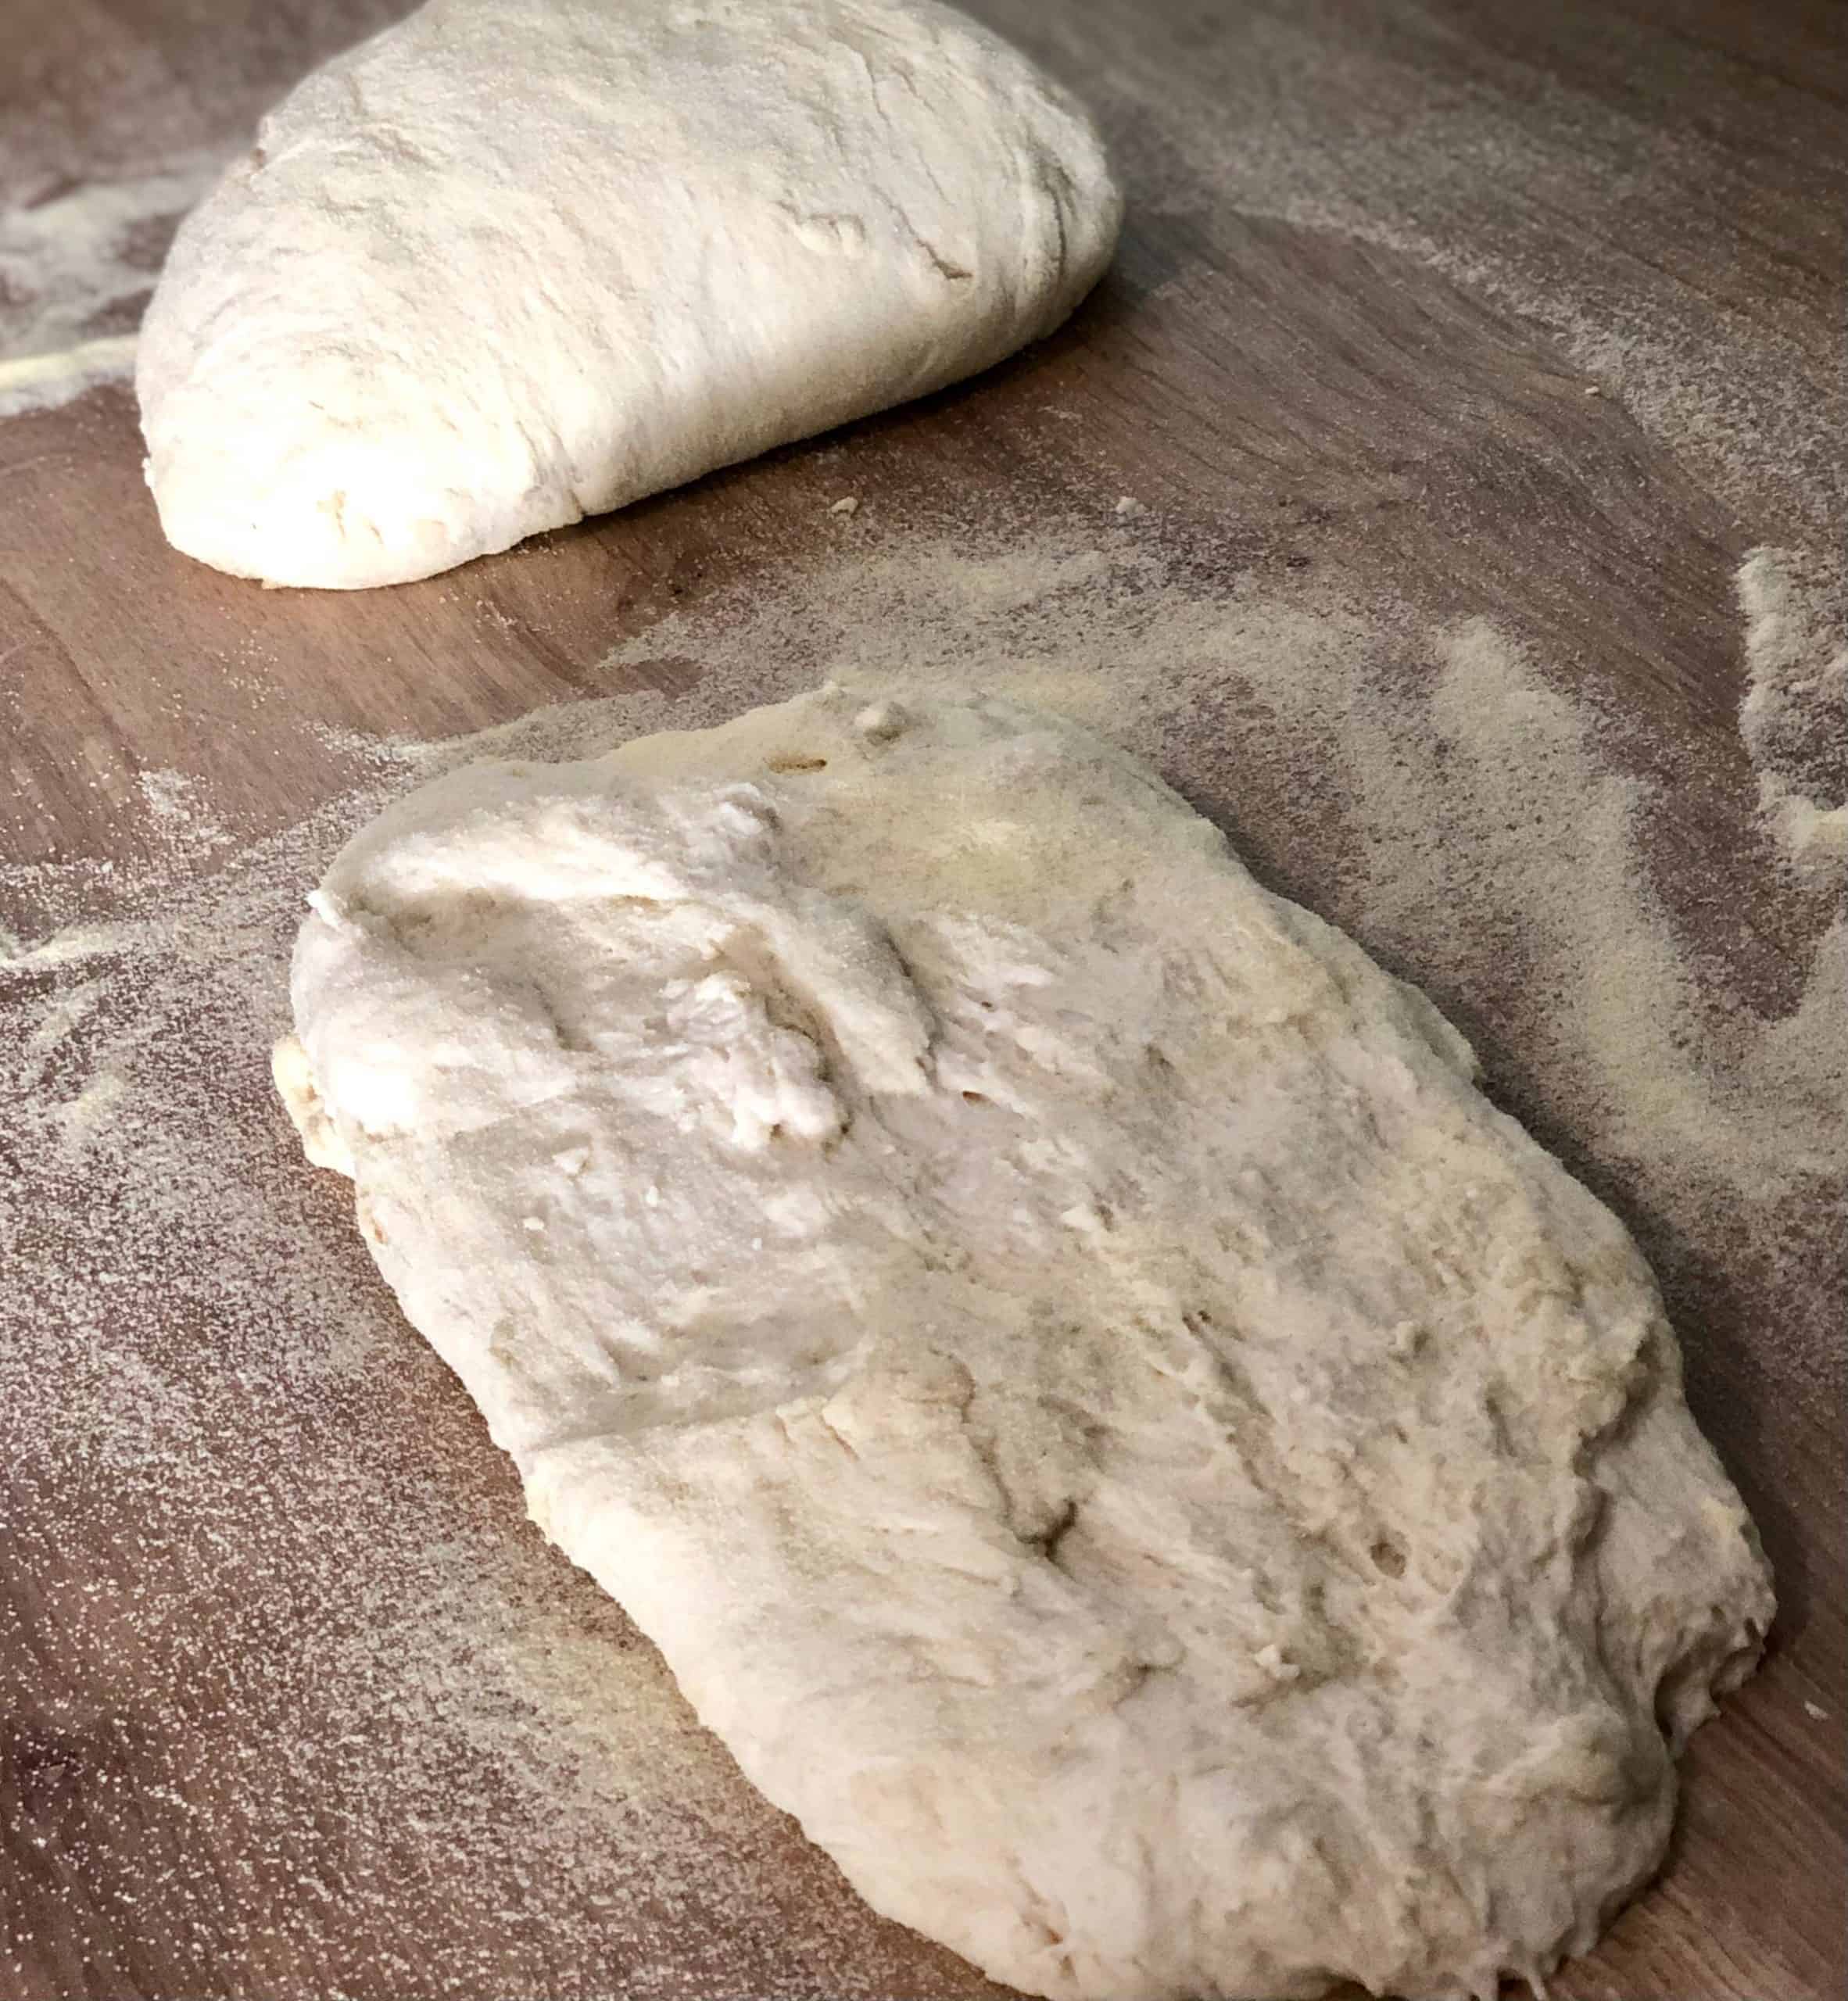
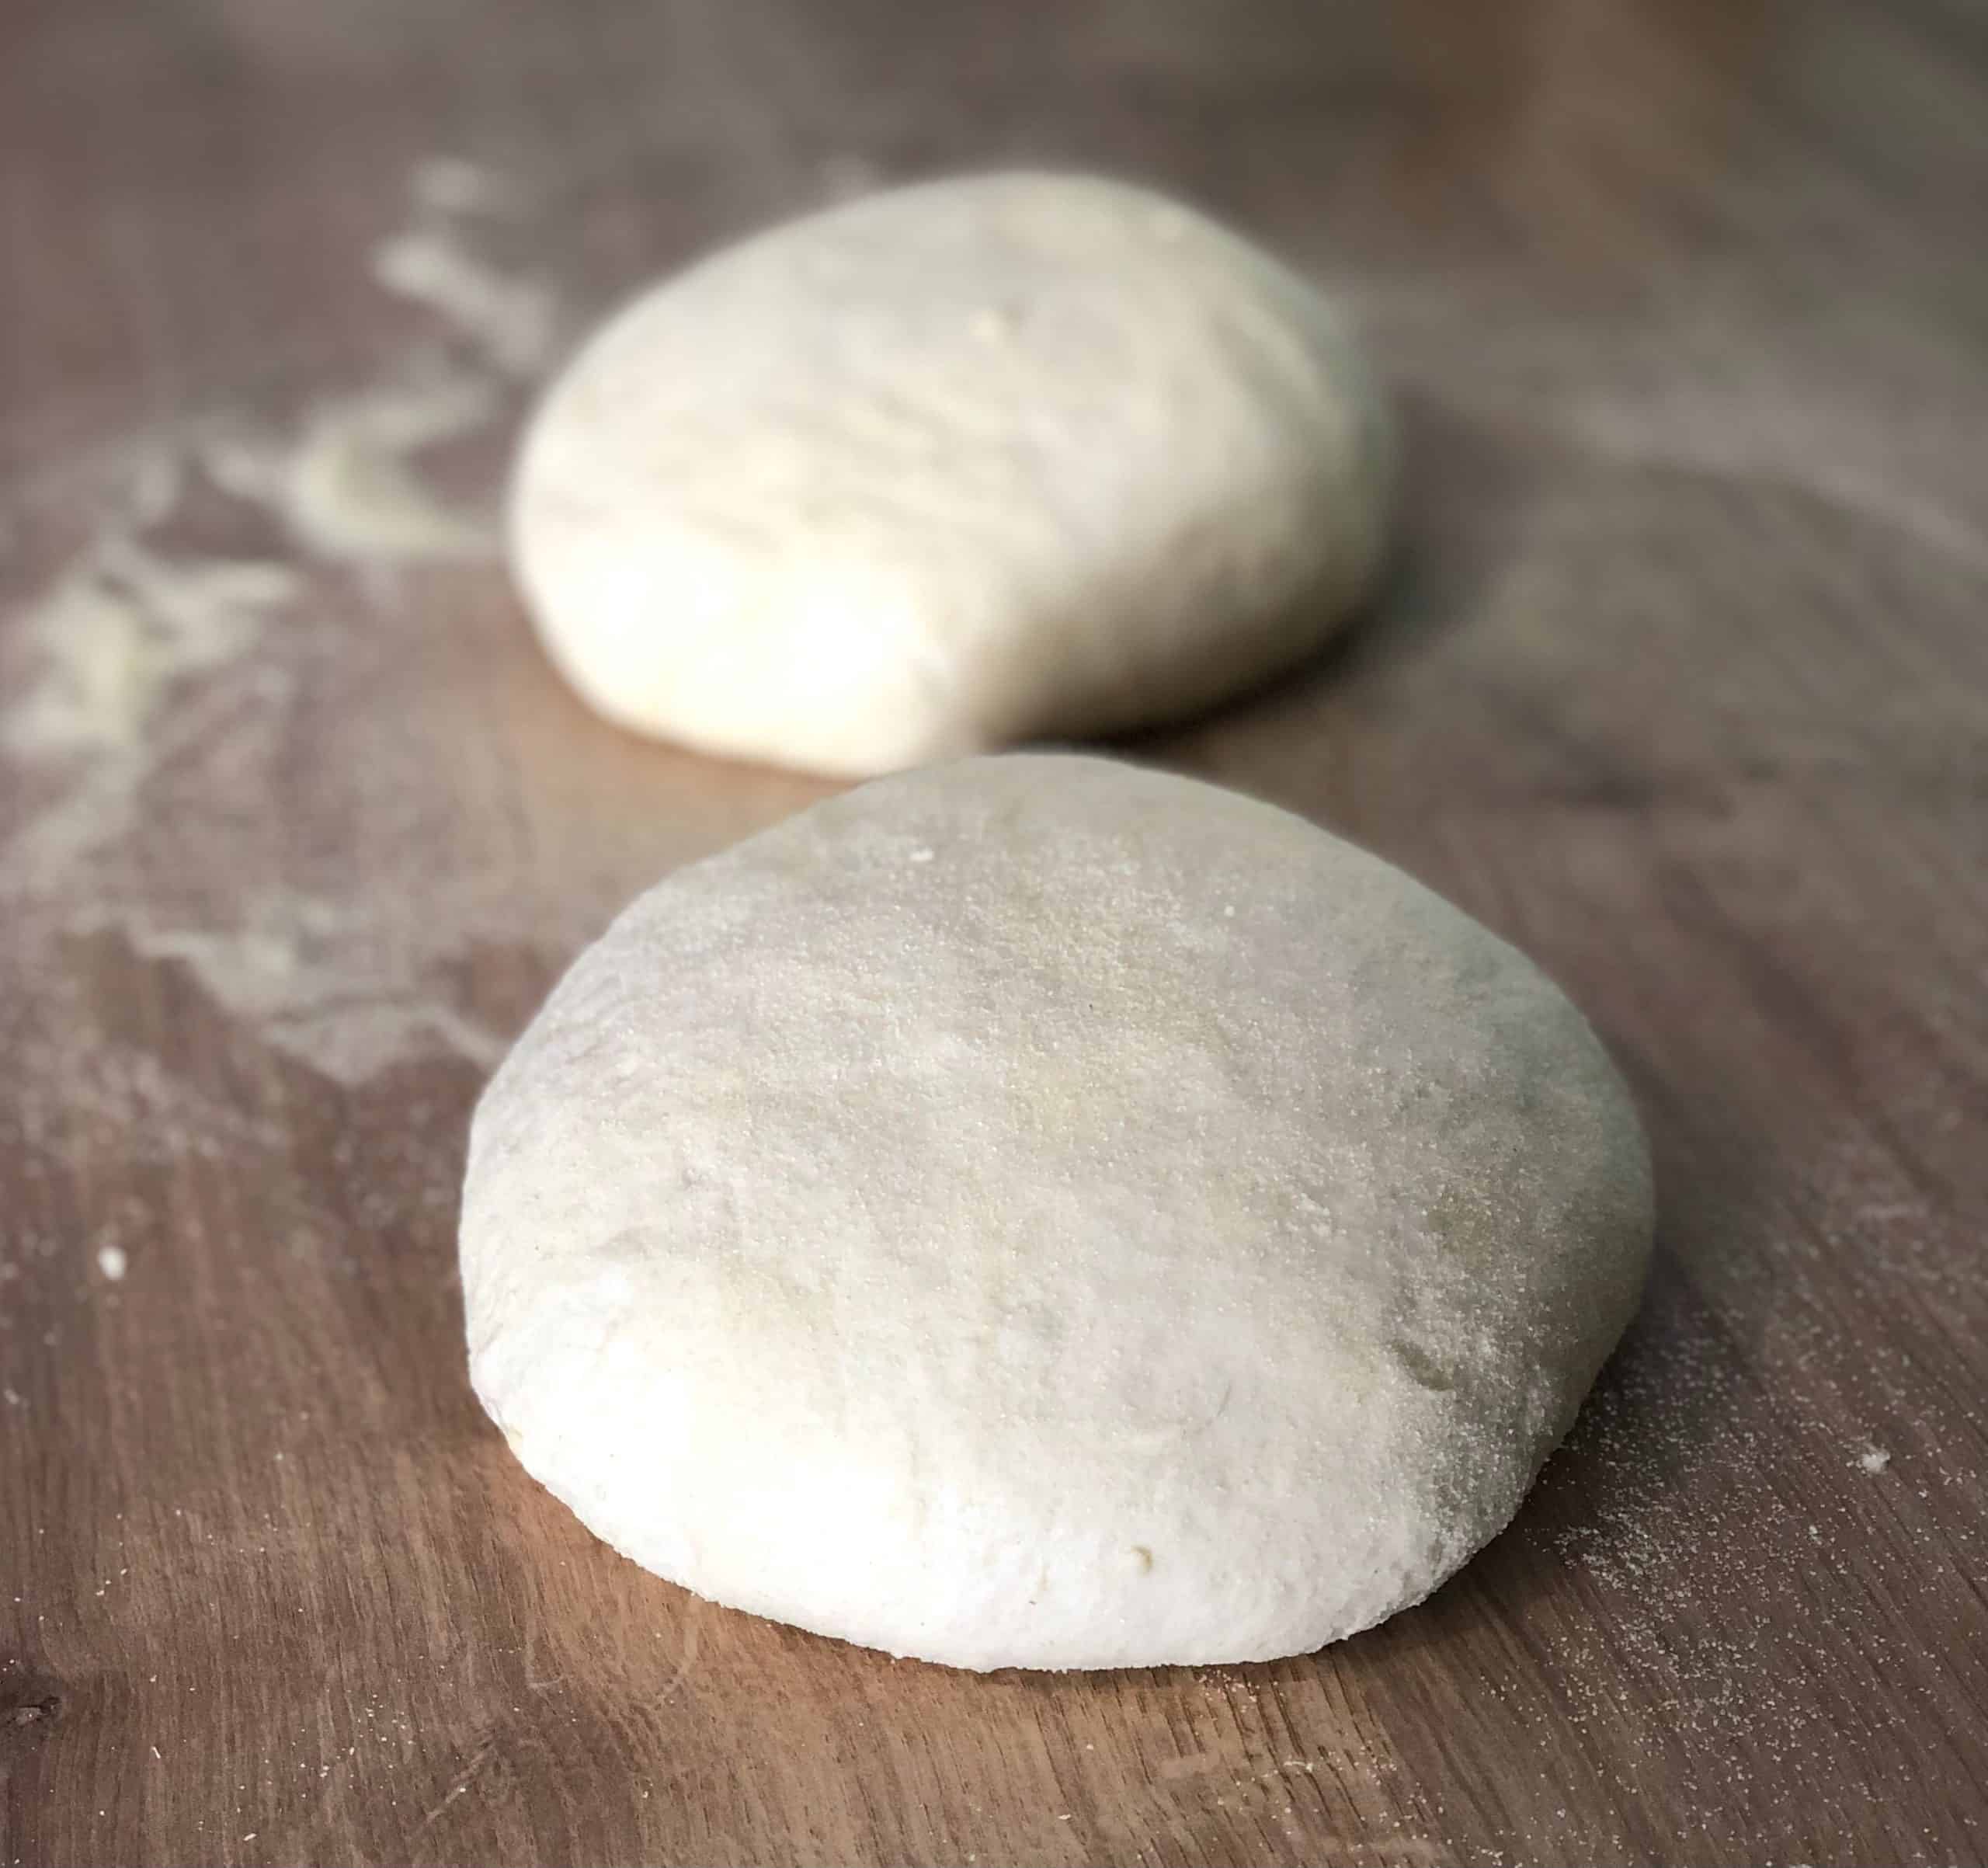
So how do you shape your no knead bread? When the dough has finished proofing, tip it out carefully from your bowl onto a floured work surface. Then proceed to cut it in two equal pieces like the picture above.
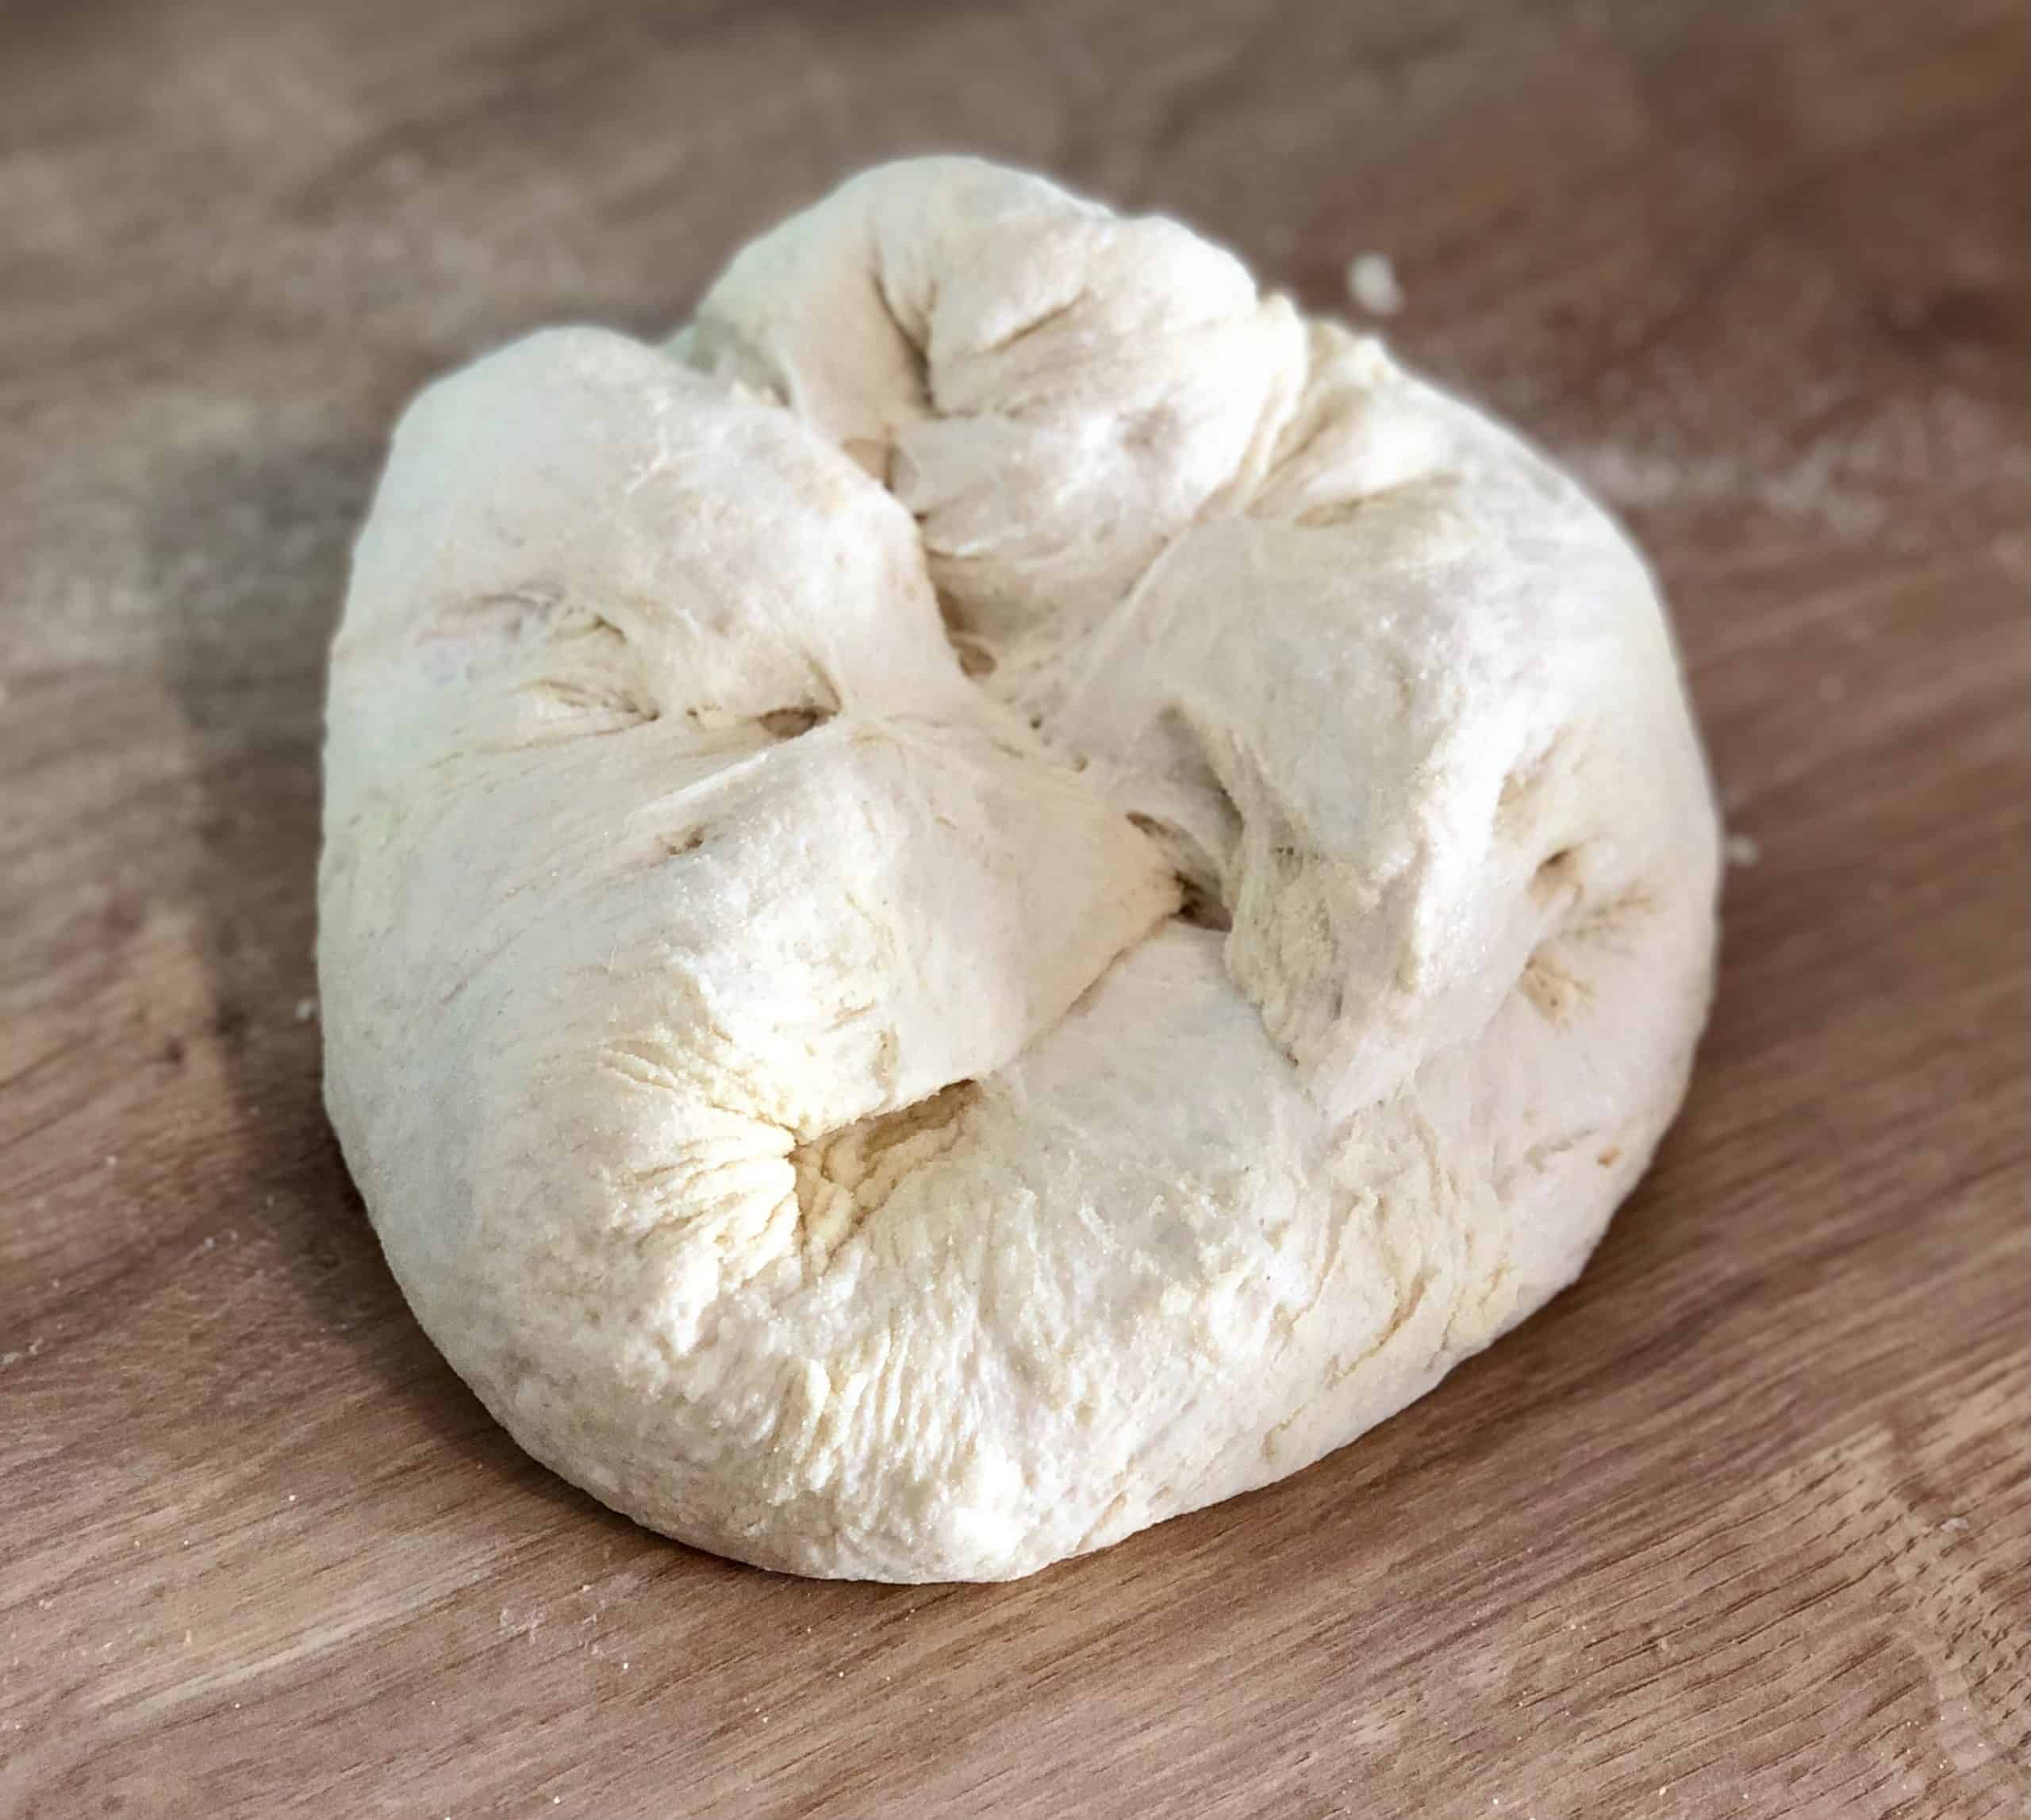
Then grab the edges of your dough and lightly stretch it forming a “disk”. Afterwards, grab the four corners and fold them over and towards the center as shown in the pictures below.
Tip the dough over and using your hands pull the dough towards yourself on the work surface, shaping it into a ball and giving your dough some surface tension.
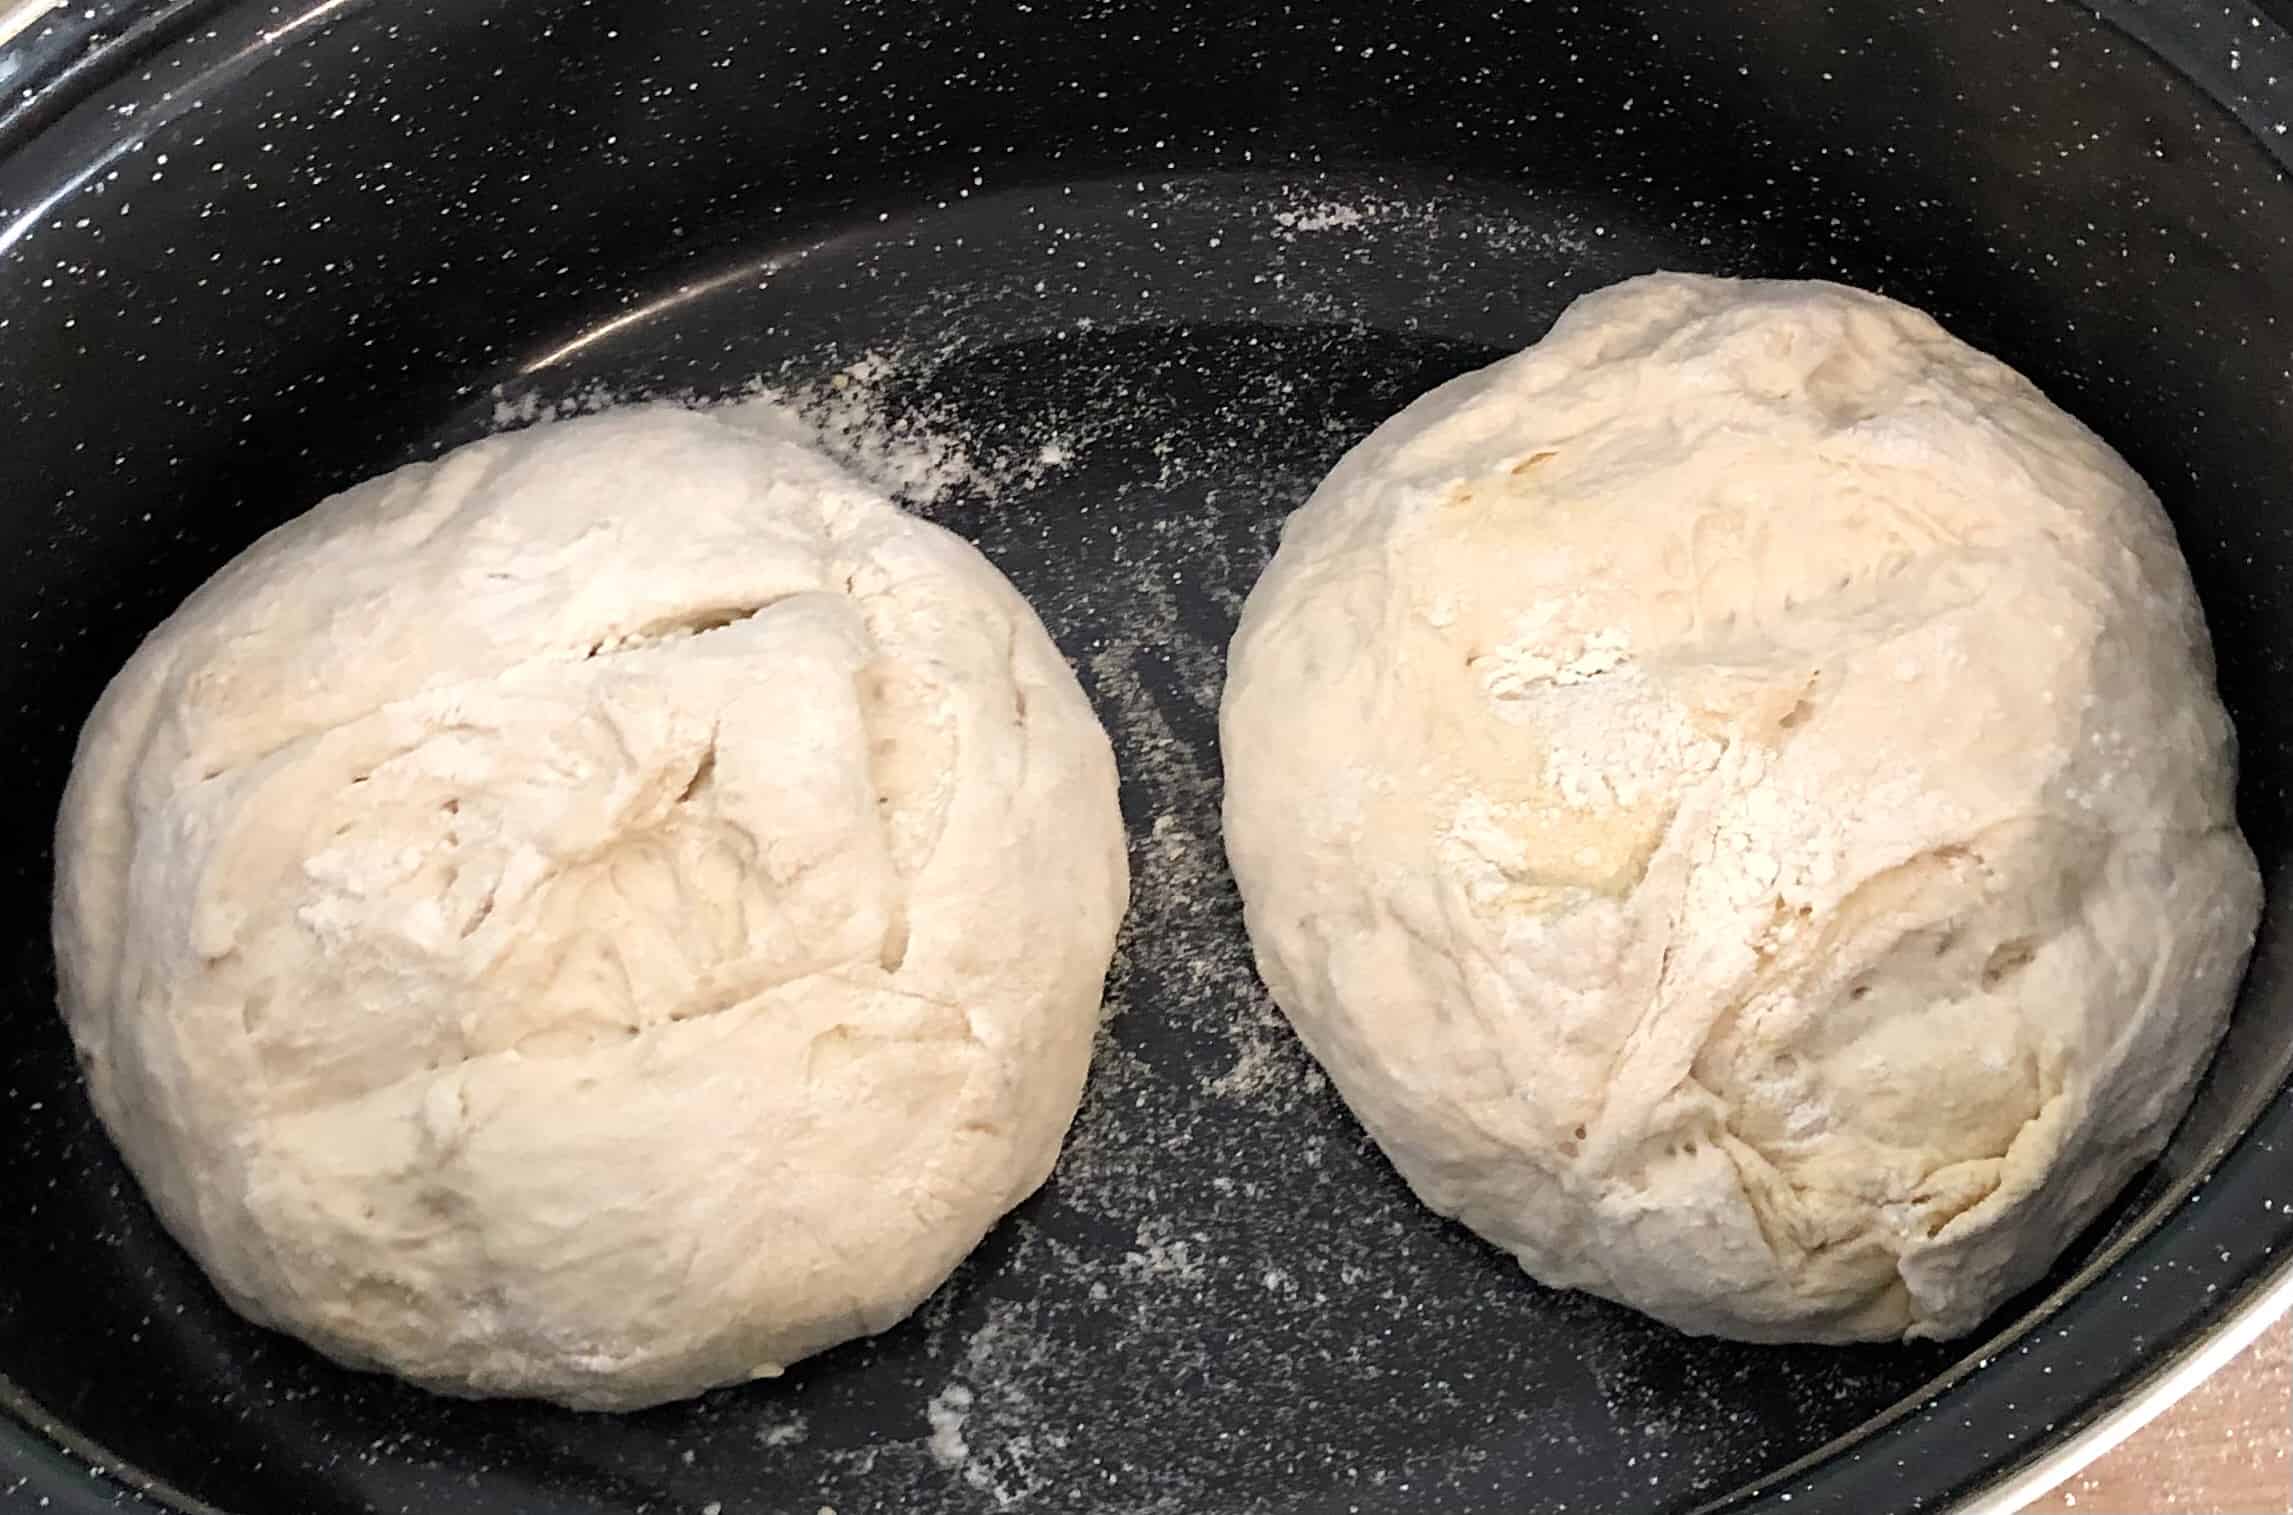
Once your dough balls are nicely shaped, its time to move them to the Dutch oven. Lift your dough balls gently and pop them in your Dutch oven. Then score them on top using a lame or a sharp knife. You can score a couple of straight lines or score a rectangle on top or play with different designs if you fancy!
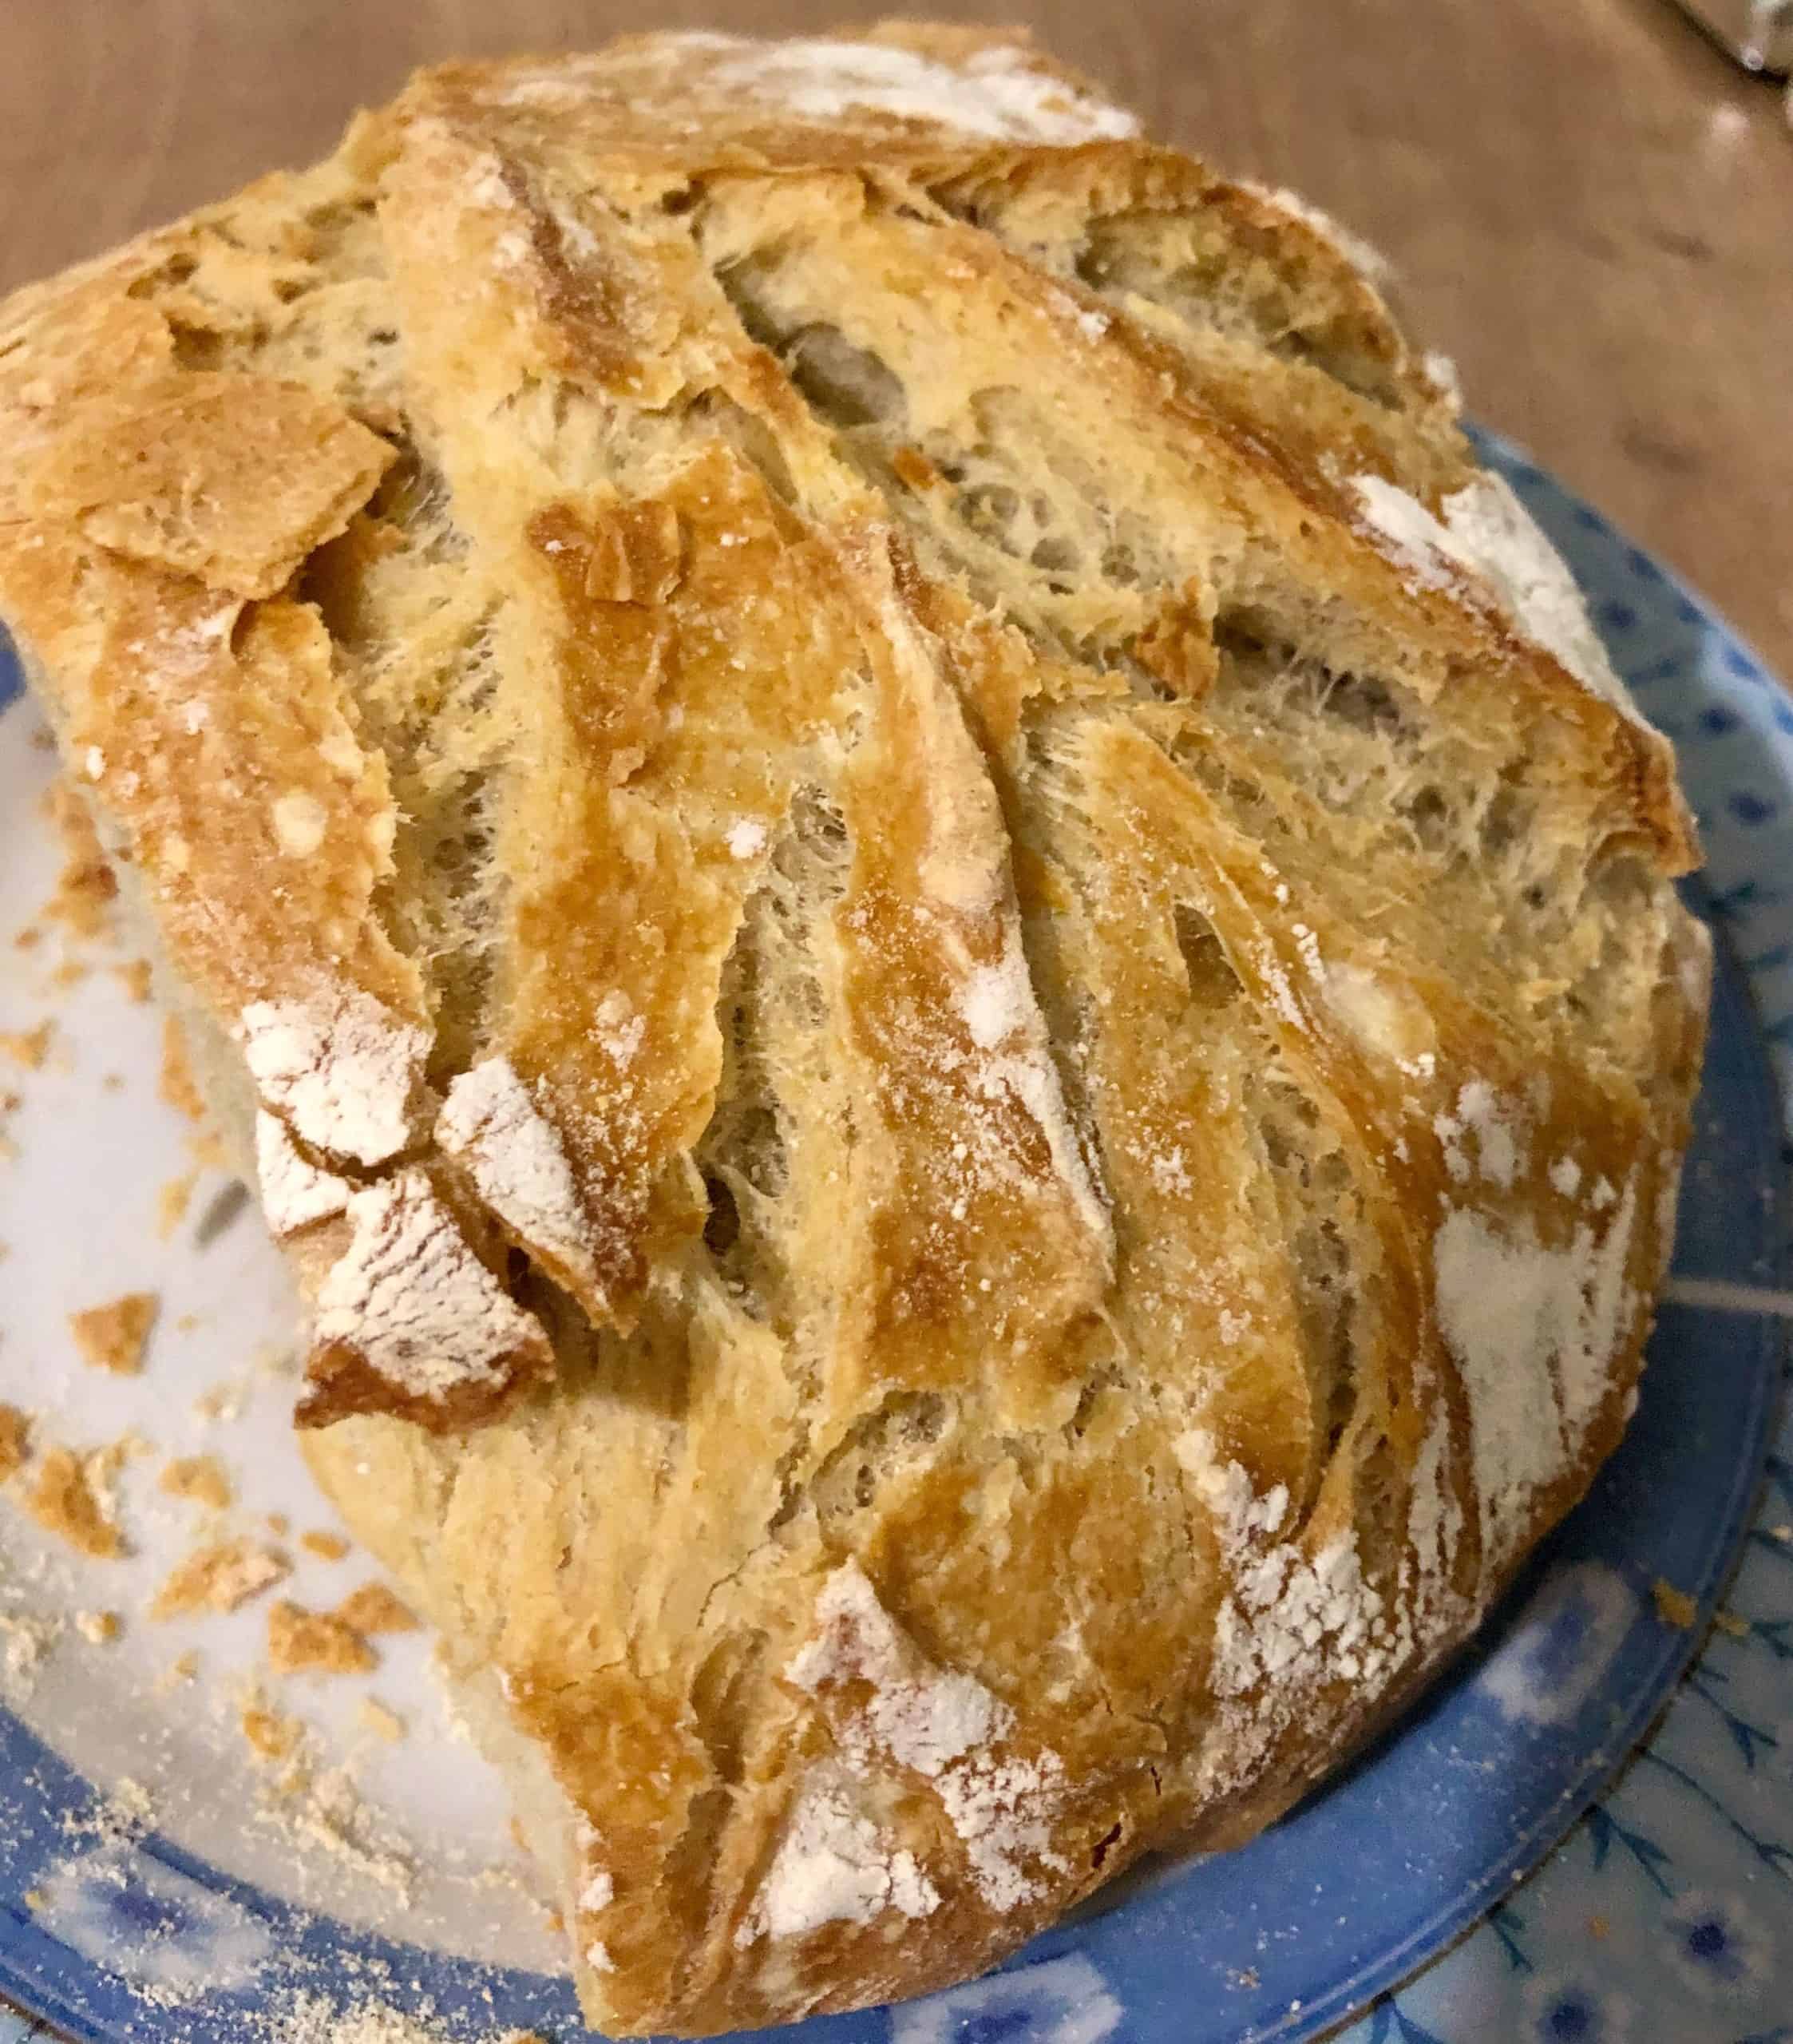
Finally pop the lid on your Dutch oven and bake it in a preheated oven at 210C / 410F for 30 minutes and then with the lid off for another 10-15 minutes or until golden brown.
The Dutch oven will help keep the steam coming out from the bread trapped inside, allowing the bread time to rise before a crust forms. I prefer using a thin metal roasting tin as my Dutch oven as it doesn’t need pre-heating and is large enough to hold two of my bread loaves.
You can of course also use cast iron or enamel coated dutch ovens! Just be mindful that a heavy metal dutch oven will need to be preheated in the oven before adding the bread inside and the baking time reduced to 20 minutes.
Can I use other types of flour?
I always use bread flour for my no knead bread. There is a simple reason for this. Bread flour has a high gluten content, typically around the 12% mark.
You can check the gluten content of the flour on the ingredients list – just check the amount of protein in it on the ingredients list!
However, if you don’t have any bread flour, or simply cannot find any, you can use all purpose or plain flour. Just add a couple of tablespoons more, as the lower protein content of the flour won’t hold the water as well and the dough will be a bit slacker.
Finally did you know that you can convert any “soft” flour, like all purpose and plain to bread flour by adding a couple of tablespoons of vital wheat gluten in it.
I learned this little trick during the COVID lockdowns, where bread flour was scarce. It adds the missing gluten to the “softer” flour and, as a bonus, it will make your dough amazingly stretchy and crunchy.
What should I do if my dough is too sticky?
If you do feel your no knead bread dough being too sticky to handle just sprinkle a table spoon of flour on top of it when shaping on your bench. This will allow you to handle the dough more easily and should stop it sticking to your fingers and your work surface.
As my no knead bread recipe is using a 65% hydration formula (10 parts flour, 6.5 parts water), it is beginner friendly and won’t result in a too wet of a dough.
However, feel free to experiment with the water content raising it up to the 70% mark – 23.5fl. oz / 700ml. More water in the dough will result in a fluffier bread!
Why didn’t my dough rise?
Active dry yeast is reliable stuff but there are odd occasions when things don’t go as planned. One of the most common ones is that the yeast isn’t fresh and this results in flatter bread. So check the expiry date of the yeast before using it in your no knead bread. And if you don’t use it all up, pop it in the fridge to extend the lifespan.
The other issue could be the room temperature. My no knead bread needs to be kept at 72°F/22°C to rise so if it is colder than this, you will need to leave it for a bit longer, or pop it in your oven with just the oven light on.
Variations
My no knead bread recipe makes the perfect basis to create something like a classic Greek Olive Bread. All you would need to add would be some black olives and some dried oregano and you have a fresh loaf that works with any of your Greek dishes.
Other ideas include adding some minced & lightly pan fried garlic cloves, different herbs such as rosemary, sage or tarragon or some cracked black pepper.
You could add some Parmesan cheese into the bread and sprinkle some on top as well, although you might want to reduce the salt content a little if you do this as Parmesan is quite salty.
Making ahead of time and storing
Once the no knead bread is out of the oven, let it cool for around 10 minutes before slicing and serving. Any leftovers should be stored at room temperature, ideally in a bread tin where it should keep for about 3 days.
After that, you can always chop it into cubes and use it for croutons for soup or salads.
Serving suggestions
There’s no limit to the number of things you can do with fresh bread. From sandwiches, serving it with soup, having alongside stews or as part of a party platter, you can do so many things with a simple no knead bread such as this.
Want to discover more bread recipes?
Why don’t you also take a look at my favourite bread recipes below!
A super easy recipe for an amazing no knead bread! It requires no special equipment, mixer or technique. You will only need a wooden spoon and your love!
In large bowl add the yeast, water and sugar and mix to dissolve. Set aside for 10 minutes.
In the same bowl add the flour, salt and olive oil.
Mix the dough using a wooden spoon for 4-5 minutes until the mixture is combined. You should have a very sticky dough.
Cover the bowl with a towel and let it rise for 12-15 hours.
Flour a large working surface and your hands and place the dough on the surface. Gently deflate the dough and cut in half. Knead the dough a little bit with your hands and form two round loafs. Place the two breads in a casserole dish and score the top of the bread with a sharp knife.
Bake in the casserole (with the lid on) in preheated oven at 210C / 410F for 30 minutes and then remove the lid and bake for another 15 minutes or until golden brown.
What is considered “bread” flour? Can you be more specific, please? I asked at the store I shop groceries but they just showed me a shelf with 50 different kinds of flour… do I buy self-rising flour, general all-purpise flour? Thanks!
Hi! Regarding your recipe “Amazing No knead Bread Recipe”
I noticed that 12 to 15 hours is needed for rising. Is this true or an error, I’m a beginner at making bread, but I have never seen this before.
Over the past 8 years you have made My Greek Dish the number one destination for anyone searching for authentic Greek recipes! For that I cannot thank you enough!
It all started with an idea… To collate and publish all those recipes that I loved when I was young, the ones I made with so much love for my children and grand children!
So go ahead, explore my delicious collections and don’t forget to leave me a comment, connect with me on Facebook or Instagram and sign up to my mailing list so you never miss out on my latest creations!


")
")

")
")
")


Village bread…yum
What is considered “bread” flour? Can you be more specific, please? I asked at the store I shop groceries but they just showed me a shelf with 50 different kinds of flour… do I buy self-rising flour, general all-purpise flour? Thanks!
Hi! Regarding your recipe “Amazing No knead Bread Recipe”
I noticed that 12 to 15 hours is needed for rising. Is this true or an error, I’m a beginner at making bread, but I have never seen this before.
Please confirm – thanks so much, Joanne